
For those of you who may recall (because I post SO OFTEN, how could you possibly remember what it is that I posted a whole two posts ago???), I decided to take on the redesigning of my pantry. I got tired of the OMG IT'S SO WHITE, and felt I needed to repaint it. Most of my house is all renter's white, and until I own a home, I can't just repaint the walls to fix that, so for now, I paint what is mine to mix things up.
A refresher on what the pantry USED to look like:
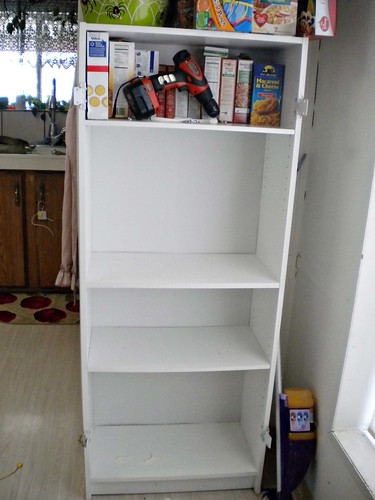
Picture it with boring flat white doors and handles, because I forgot to take a picture before I removed the doors. Whoops.
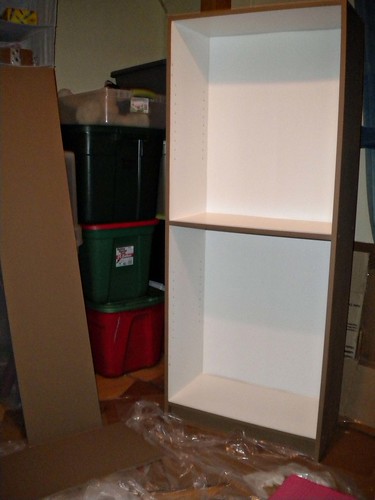
I decided to paint the body, the doors, and the fronts and bottoms of the shelves a lovely dark taupe color called Caraway Seed by Kilz. It took me two coats and a few days to get all the parts painted, dried, touched up, etc. But I LOVE the results.
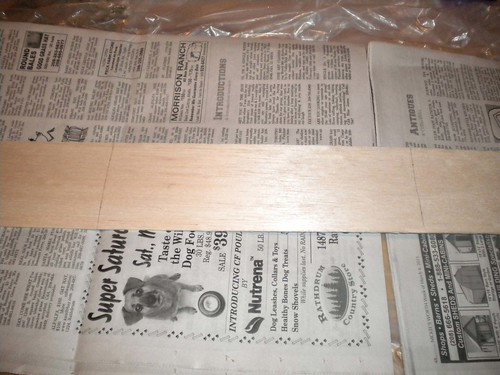
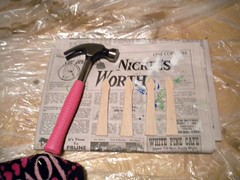
Then I started to really get creative. I was inspired by a post -- I don't remember where from -- where another blogger had built a door at the bottom of her stairs, and put faux antique hinges on the front of it -- so I picked up a board of balsa wood (final prices on this whole project will come in the finish post) and measured it out into quarters for the plan.
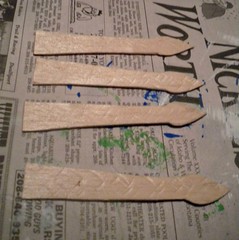
Then after LOTS of drawing, trial and error, I came out with a shape I liked. (Thank goodness for those quarters!) I wanted kind of an old-fashioned, beat-up look, so I used my hammer to kind of beat the pieces up a bit.
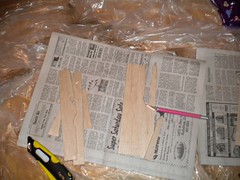
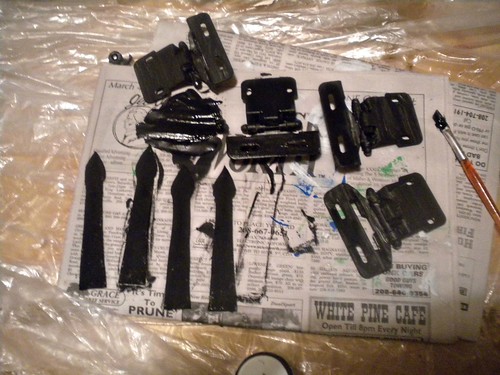
And then I painted them black, with plans to spraypaint them a bit more later. I also painted the real hinges black, again, planning to spraypaint them later. Honestly, I don't know that painting them will make much of a difference at all, so it may have been a total waste of paint and time.
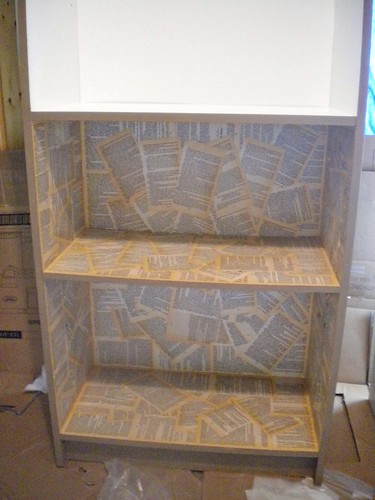
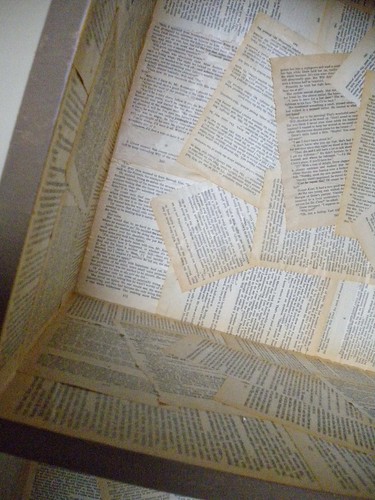
I spent a ridiculous amount of time tearing apart three books -- when I could have gotten away with just one... I feel like I've performed some horrific sacrilege -- for the next part of my project. Honestly, when I pictured what it is that I wanted to do, I had imagined REALLY white book pages, but I couldn't really find anything like that affordable for me, so I got an older book. I wasn't really thrilled about it, but once I got started, I liked the results, and I think it really fits the old-fashioned look I'm trying to really get with this.
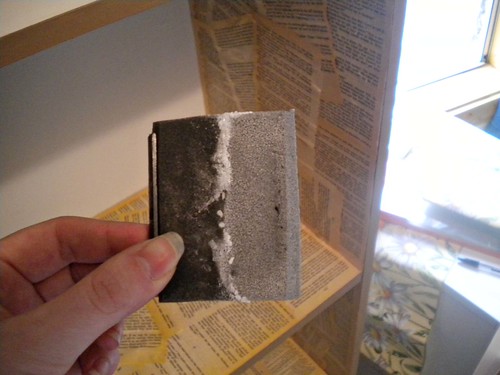
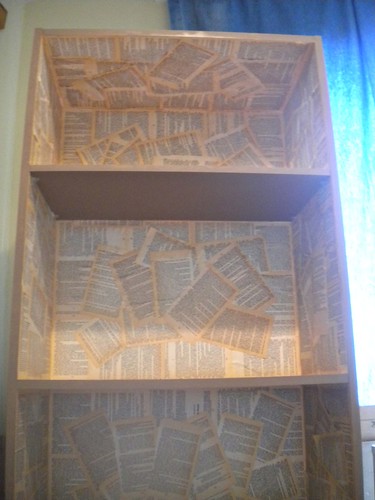
Using Mod Podge -- and a LOT of it -- a sponge, and the book pages, I lined the inside of the pantry and the tops of the shelves. After I got through half, I was honestly tempted to just stop. It was very time-consuming!! But my friend Taylor was here, working on her own craft next to me, and didn't really give me the option of stopping. And I'm really glad she did.
Part of the way into it, the handle broke off my sponge, but since I didn't really want to ruin one of my brushes, I kept trucking on through with just the sponge itself, getting a LOT of Mod Podge under my nails. Seriously... not fun.
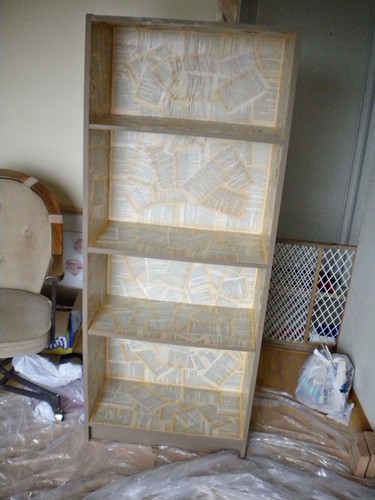
It took a few hours, but I finally got it all done.
I had wanted to do the spraypainting today, but it's raining and very wet outside, so I'm going to have to put that part of the project off until it's dryer outside.
I'm really excited how this is turning out!! I can't wait until it's done, and I can put it back into the kitchen, and see how it looks in use!
I posted:

looks great!
ReplyDeleteGreat project! I'd like to invite you to link up with my pantry post. :o)
ReplyDeleteCheryl
http://ldsmomtomany.blogspot.com/2011/03/organizing-my-pantry-link-party-post.html